I have the wonderful opportunity to serve as a Primary President in the LDS church. I love serving the young children of our neighborhood! They are truly a delight. The theme for 2014 is Families Are Forever. With that theme in mind, I wanted to have a family centered activity for the children. What we planned was a Primary Family Home Evening.
I will try to give you just simple details of the activity using the pictures I took of our activity:
We invited all primary aged children (Sunbeam class - Valiant 11) and their parents to attend. As they entered the room, each family entered our Door Prize Drawing. We had 7 door prizes that they could win. Then we asked them to sit as a family at the table.

We made a mini living room using the furniture from the church. Great Idea!! This is where we asked our guest speakers to sit for the activity. We opened our activity by me welcoming everyone, having an opening prayer and a song. I then talked for a minute about this years theme for Primary and read this years scripture in Malachi. I then turned the time over to our wonderful Bishopric for the lesson part of our activity. A few weeks prior I had asked each of them to just take 5 minutes each and gave each of them a topic to speak on. The 3 topics were, Family Home Evening, The Family: A Proclamation to the World, and a talk by Elder Ballard called That The Lost May Be Found. This lesson part of the activity was so wonderful and really set the tone for the purpose of our activity.

When the lesson was finished, that is when my 1st counselor got up and explained the activity part of our Family Home Evening. We had each family make a Family Conversation Jar that they could take home at the end of the activity. I used the idea from this website and all the questions were just perfect!! Our decorations were simple and fun. Red velvet Ribbon (thank you Christmas Clearance) and conversation hearts for them to much on while sitting at the tables. (and yes, they were all eaten!!) Get it, conversation hearts for family conversation!! :)

My husband made the table flag stands out of a 2x4 piece of wood and I painted them.

Making the Family Conversation Jars: We had everything set out, ready to go for easy assembly. Each mason jar already had the tag tied to the jar, we made copies of all the questions (back to back so each piece of paper had a question on either side. We did this to cut down on the amount of paper and cutting time). A pair of scissors for each family, a lid and a piece of fabric just to make them a little more appealing.

We had typed up simple step by step instructions and hung those behind the table. This way they could just read and follow the directions and we did not have to explain it 100+ times.
(we are working with children, remember) Each family sent up 2 people to the table to get their supplies.

At the end of the table we had a sample of what the jar looked like when completed. Each family sat and assembled their own jars, talked and really had an enjoyable time. But that wasn't all.

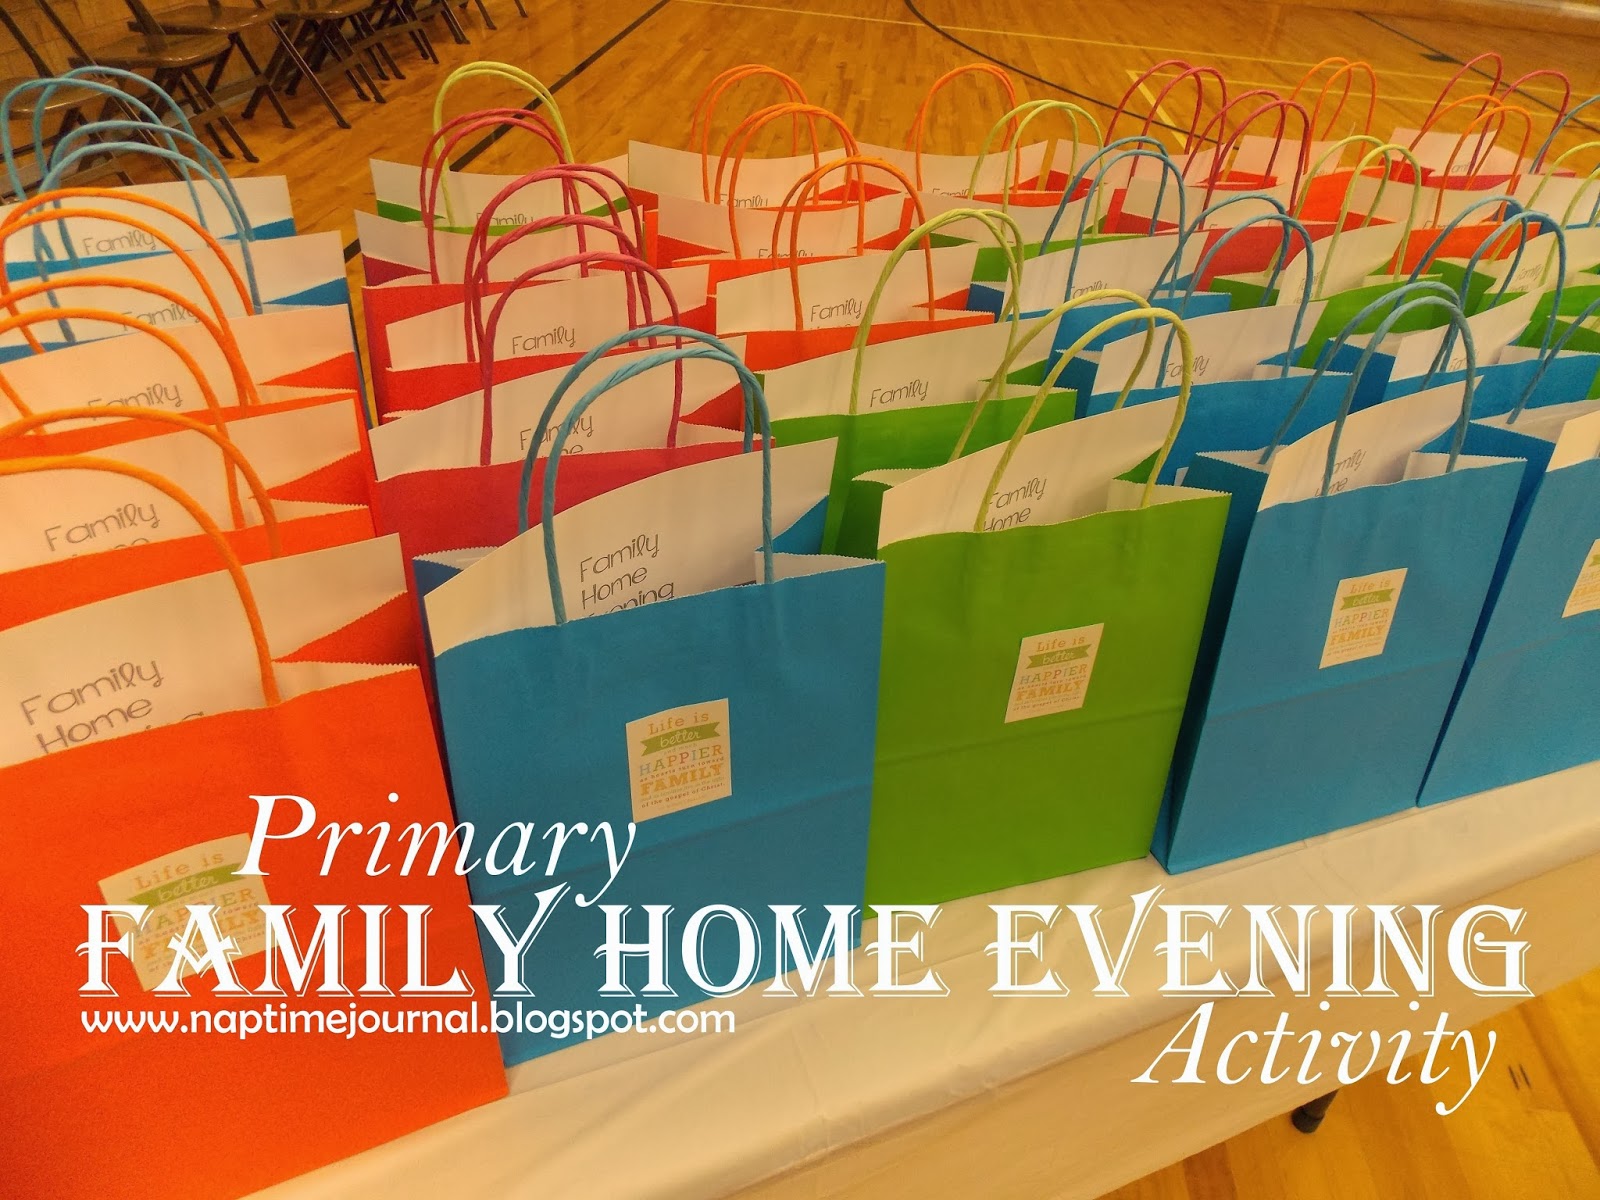
As they were assembling their jars, that is when we drew names for the 7 door prizes (that are explained below). When each family finished their jar, they came up to a separate table that we had set up by our living room and picked a gift bag (found at Hobby Lobby) that had this Family Home Evening chart inside. We had also included several clothes pins as well. (family names can be written on each clothes pin and that is what you use to clip to the chart and assign and switch out the prayer, song, lesson etc each week). Each family then put their jar inside their bags to help protect it so it would not get dropped on their way home. Just after calling the names for the door prizes we ended our activity with a prayer and a blessing on the treats. That way those that needed to go could go and those that like to visit could stay and visit.
Every Family Home Evening needs a TREAT! My 2nd counselor makes amazing chocolate chip cookies! She made all of them for our activity. So I had fun and added this sign to the dessert table. I also dipped jumbo marshmallows in chocolate. Kid friendly desserts are a must!!

Do you see those 7 frames on our dessert table?! Those were the door prizes. They also worked well for our dessert table decorations. Each printable I found online for FREE and just had 5x7 prints made of each one at walmart. I also found the 97 cent frames at walmart too!! score! Each family that received one loved them. Each print had a gospel message about families. My hope is that they were taken home and hung on their wall or put on display somewhere.

Now, we also handed out a very special gift to each family as they left the activity. Each family received their own copy of this CD. It's a wonderful CD with 2014 Primary Songs on it.
There was nothing that I would not have changed about this activity except adding a copy of the Family Proclamation to each gift bag. Everything went so smooth and we were so grateful to all the families that came out and supported it. It was wonderful, even for me and my family!
The printables that I used: (click on each one)


.jpg)


